The days of intense Insta-brows are long behind us. Now, it’s all about soft, fluffy soap brows. They may look like less effort, but trust me, they’re not. If anything, the effortless look takes longer! Fortunately, brow lamination can create perfect brows that stay in place for up to eight weeks at a time. Here’s how to laminate your brows at home.


What is Brow Lamination?
Brow lamination is the same thing as a hair perm, only it’s your eyebrow hair that you’re altering. It involves relaxing and fixing the hair in place so that your brows stay styled exactly as you want them. It also helps sparse brows appear fuller and thicker.

Best Brow Lamination Kits
If you want to laminate your brows at home, you will need a special kit. Fortunately, there are lots of great choices out there. One brow lamination kit costs roughly the same, or even a little less, than a salon appointment and you should get at least five applications out of it – that’s some serious saving right there.
Each kit is slightly different, but yours should come with:
- Glue
- Lifting solution
- Fixing solution
- Nourishing serum
- Q-tips
- Spoolie brushes
Personally the Makeup Revolution one is my favourite!

What About Tinting?
If you have light eyebrows, I recommend tinting them either a week before or after your brow lamination so that you don’t overwhelm your eyebrow hair with chemicals. Fortunately, tinting your brows at home is super quick and easy. Here are some reputable kits:

Laminate Your Brows At Home: Step-By-Step
Step 1: Do a patch test 24 hours before to make sure you’re not allergic to any ingredients in the kit. Use a q-tip to dab a small amount behind your ear or inside your wrist.
Step 2: If you wear contact lenses, remove them before you begin to laminate your brows at home. If you accidentally get these chemicals in your eye, your contacts will make it more difficult to wash them out.
Step 3: Cleanse your face and remove all makeup.
Step 4: Sweep over the brow area using some micellar water and a cotton pad to be sure that all makeup is removed. I find Garnier’s one to be the most effective.
Step 5: Take a spoolie and comb your brows. Then, apply the glue to your skin and brush your brows again so that they are stuck in the desired position. Take your time with this because your brows will look this way for the next 6-8 weeks.
Step 6: Use an applicator brush or spoolie to comb the lifting solution through your eyebrows. This relaxes your brow hairs so that you can then set them in their new position. Warning: it smells AWFUL. Seriously. Like rotten eggs.
Step 7: Take a sheet of saran wrap and put it over your brows and forehead. Yes, it will look weird, but just roll with it. Set a timer for 10-12 minutes; be sure to check the instructions on the box. You don’t want to go over the limit and frazzle your hairs!
Step 8: Gently remove the saran wrap. Lift it from the bottom up so as not to disturb the hairs.
Step 9: Use the remover tool to gently remove the lifting solution from your brows.
Step 10: Apply the fixing agent all over your brows. Cover them again with a fresh plastic wrap for 10-12 minutes.
Step 11: Remove the wrap and fixing agent.
Step 12: Apply the nutrition serum to keep your brows strong and healthy.

Aftercare
Do not get your brows wet for AT LEAST 24 hours after your at-home brow lamination. I would recommend making it 48 hours if possible.
This is because water diminishes the hold and thus undoes all of your hard work. So no sweaty gym sessions, sunbathing or saunas for a few days.
Also recommend applying serums and moisturisers anywhere near your brows for 24 hours, and the same goes for makeup.
Your new brow look may seem a little extreme at first – in fact, a close friend of mine compared me to Susan Boyle. However, after 24-48 hours you can comb your brows into a slightly more relaxed position if you find you’ve overdone the lift a little.
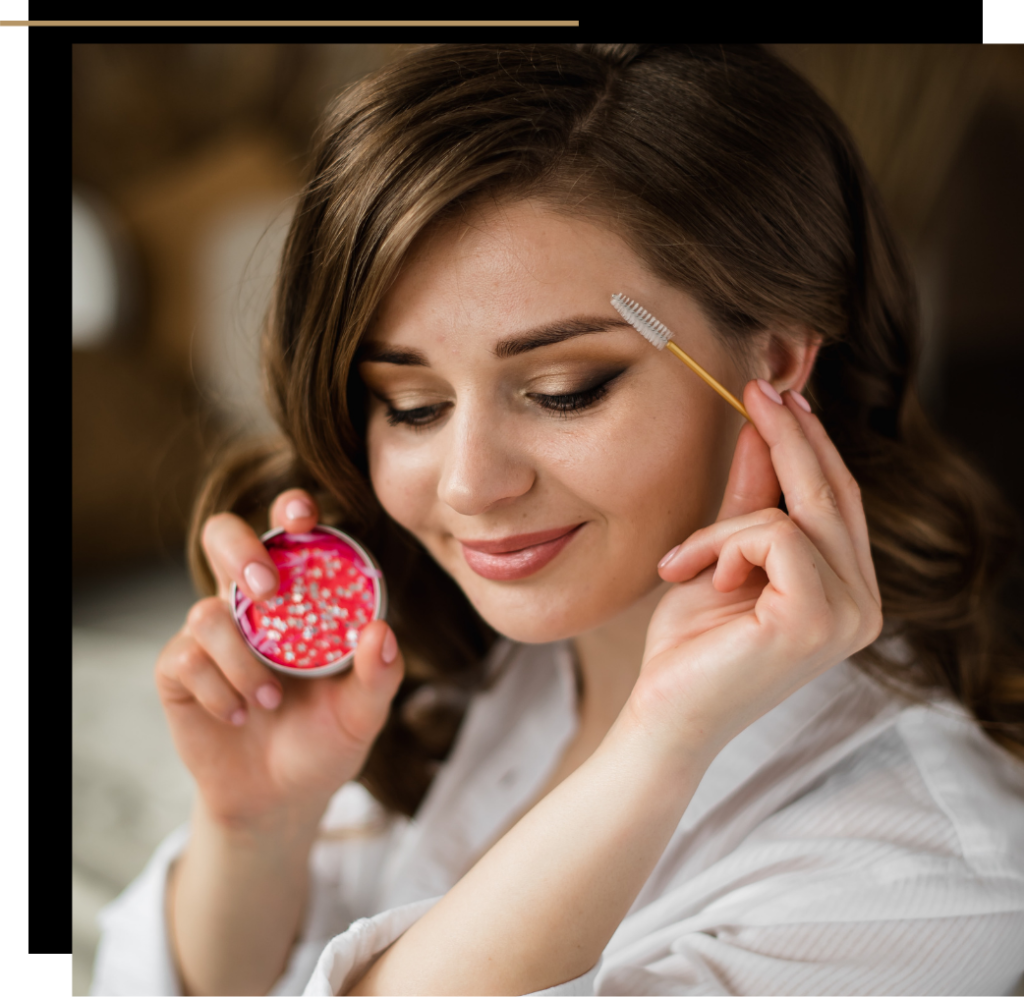

And there we have it: perfect brows at home! For more at home beauty guides, check out the following:


Comments +