I’m a total beauty addict, and I think that your lashes and brows make the biggest overall difference to your look. For years, I’ve been a big fan of eyelash extensions but lately I’ve noticed that lash lifts seem to be overtaking them in popularity. You can head to your local salon for an eyelash lift, but you can also do it yourself at home pretty easily – and this is a good skill to have just in case the salons all have to close again. (I sure hope not, but you never know!) In this post, I’m going to teach you how to do an at-home lash lift for a low-maintenance, natural lash look.

The Benefits of a Lash Lift
A lash lift is perfect for those who want longer lashes, but are after a more subtle and natural look than created by eyelash extensions. It’s also a low-maintenance procedure and the results last for 6-12 weeks, which is certainly more convenient than heading to the salon for a lash refill every 3-4 weeks. It’s also great for those who like to wear dramatic strip lashes on a night out, but don’t want to commit to this look daily.

At-Home Lash Lift Kits
There are many different lash lift kits out there, but they usually contain:
- Glue
- Perm solution
- Cleansing lotion
- Nutrition lotion
- Silicone eye pads
- Under-eye stickers
- Spoolie brushes
- Cotton swabs
- Y-shaped lash brushes
Here are some of the best lash lift kits out there:

How to Perform an At-Home Lash Lift
First up, you’re going to want to tie your hair up and use a headband so that it stays well away from your face.
Cleanse your face and skin, but avoid oil-based cleansers. Use the kit’s cleansing solution to clean your lashes.
Apply the under-eye pads beneath your eyes if you prefer – this is optional.
Test the silicone pads against your eyes to find the right size. Remember, choose the size of the pad according to the length of your lashes and not the size of your eye. If you choose a pad that’s too small you’ll produce a very over-dramatic curling effect. If you can’t find the right size pad, you can always trim one down using a pair of nail scissors.

Next, apply the glue to the pad and let it dry for a minute or so until it becomes tacky. Then, apply the pad to your eyelid. You will look very strange, but it’s ok. Remember to only curl one eye at a time, since you won’t be able to see as well with the pad over your eye.
Once the silicone pad is stuck to your eyelid, take the glue again and apply it over the top. Then, take a spoolie and brush your lashes back over the pad in slow, upward motions. This is the position your lashes will stay in for the next 2-4 months, so take your time and make sure you get it right.
Take the perm solution and apply it to the base of your lashes, then gently brush it about halfway up your lashes. Don’t take it up too high, as the ends of your lashes are more delicate and you could end up frazzling them.
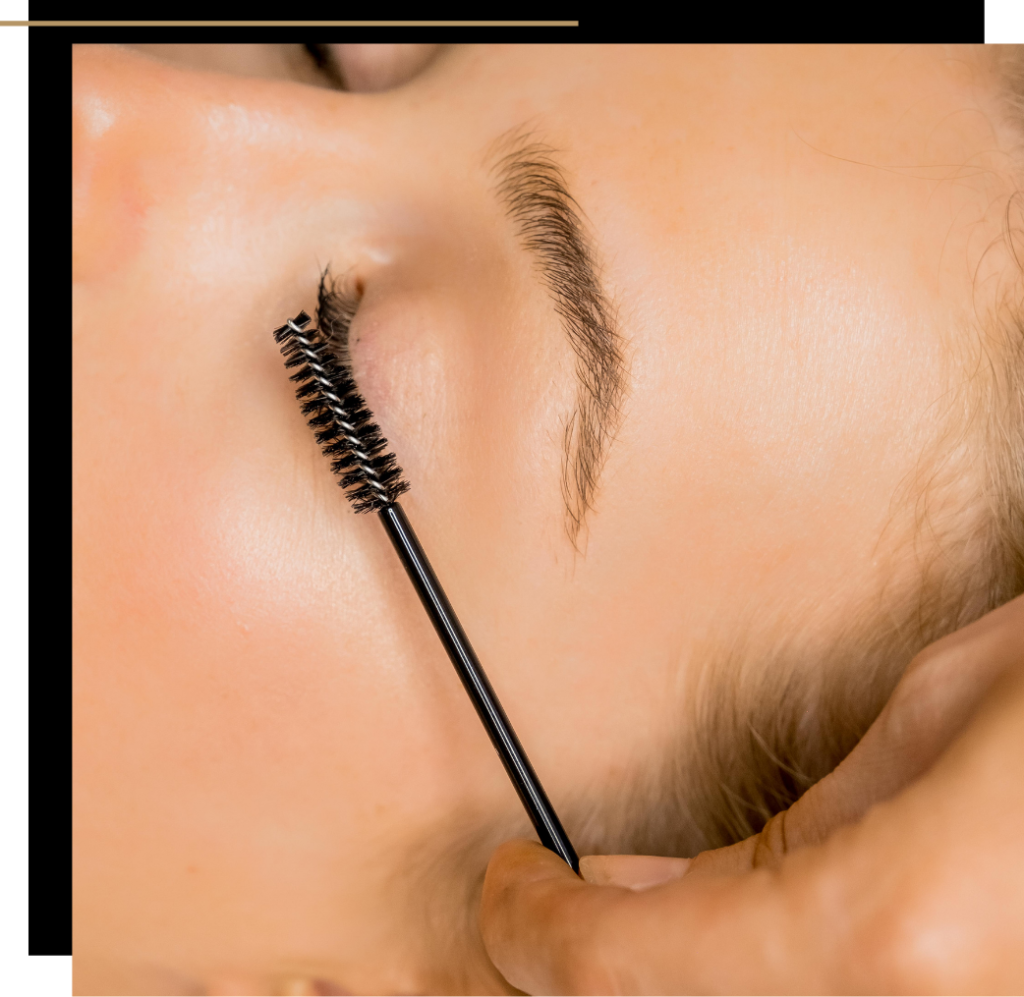
When finished, cover your eye with plastic wrap and leave it for 10-12 minutes. You may want to apply a damp towel over the wrap for comfort, but this is a matter of preference.
Some kits contain two perming solutions. If this is the case with your chosen kit, you will need to repeat this step with the second solution.
After your 10-12 minutes is up, remove the plastic wrap. Use the cleanser and a cotton pad to remove all the glue from your lashes. Make sure it is completely gone before you remove the silicone pad from your eyelid. Otherwise, you run the risk of pulling your lashes out – ouch.
Finally, apply the nutrition solution so that your lashes don’t dry out. Then, repeat the entire process with the other eye.

Aftercare
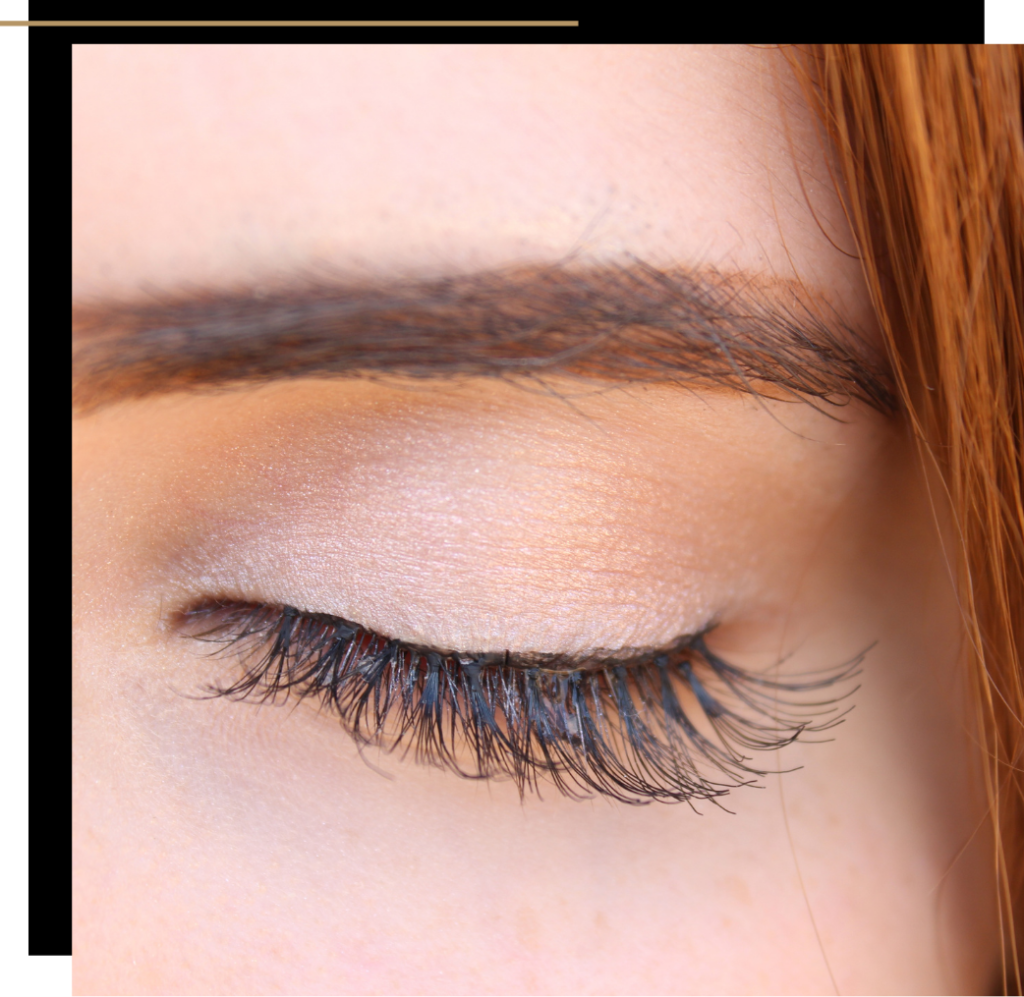
What’s great about at-home lash lifts is that they’re super low-maintenance, so there’s not a lot of aftercare involved. Just don’t get your lashes wet or use mascara for 12 hours after the treatment and you’re good to go. You can expect the results to last anywhere between 6-12 weeks at a time.

For more on at-home beauty routines, check out my guide to performing an at-home facial or these DIY treatments that will save you a trip to the salon.



Comments +