I love nothing more than heading to the aesthetician for a facial, but that’s not possible for everyone right now. So how do you get glowing skin when clinics are closed? Fortunately, it’s easier than you think to perform a facial at home.
During the pandemic I learned a lot about how to perform salon-worthy treatments at home, from manicures to eyelash extensions, but I really felt that facials deserved their own article. Good skin care is a fine art and I’m very picky about what I put on my face. Doing a facial at home definitely does not mean slathering your face with coconut oil and coffee grounds! I attempt to recreate my aesthetician’s process as closely as possible.
If you try performing a facial at home without knowing what you’re doing, there’s a good chance you might damage your skin. But don’t worry: I’m going to share my step-by-step guide for at-home facials so that you can keep your complexion bright and glowy no matter what.


Step 1: (Double) Cleanse
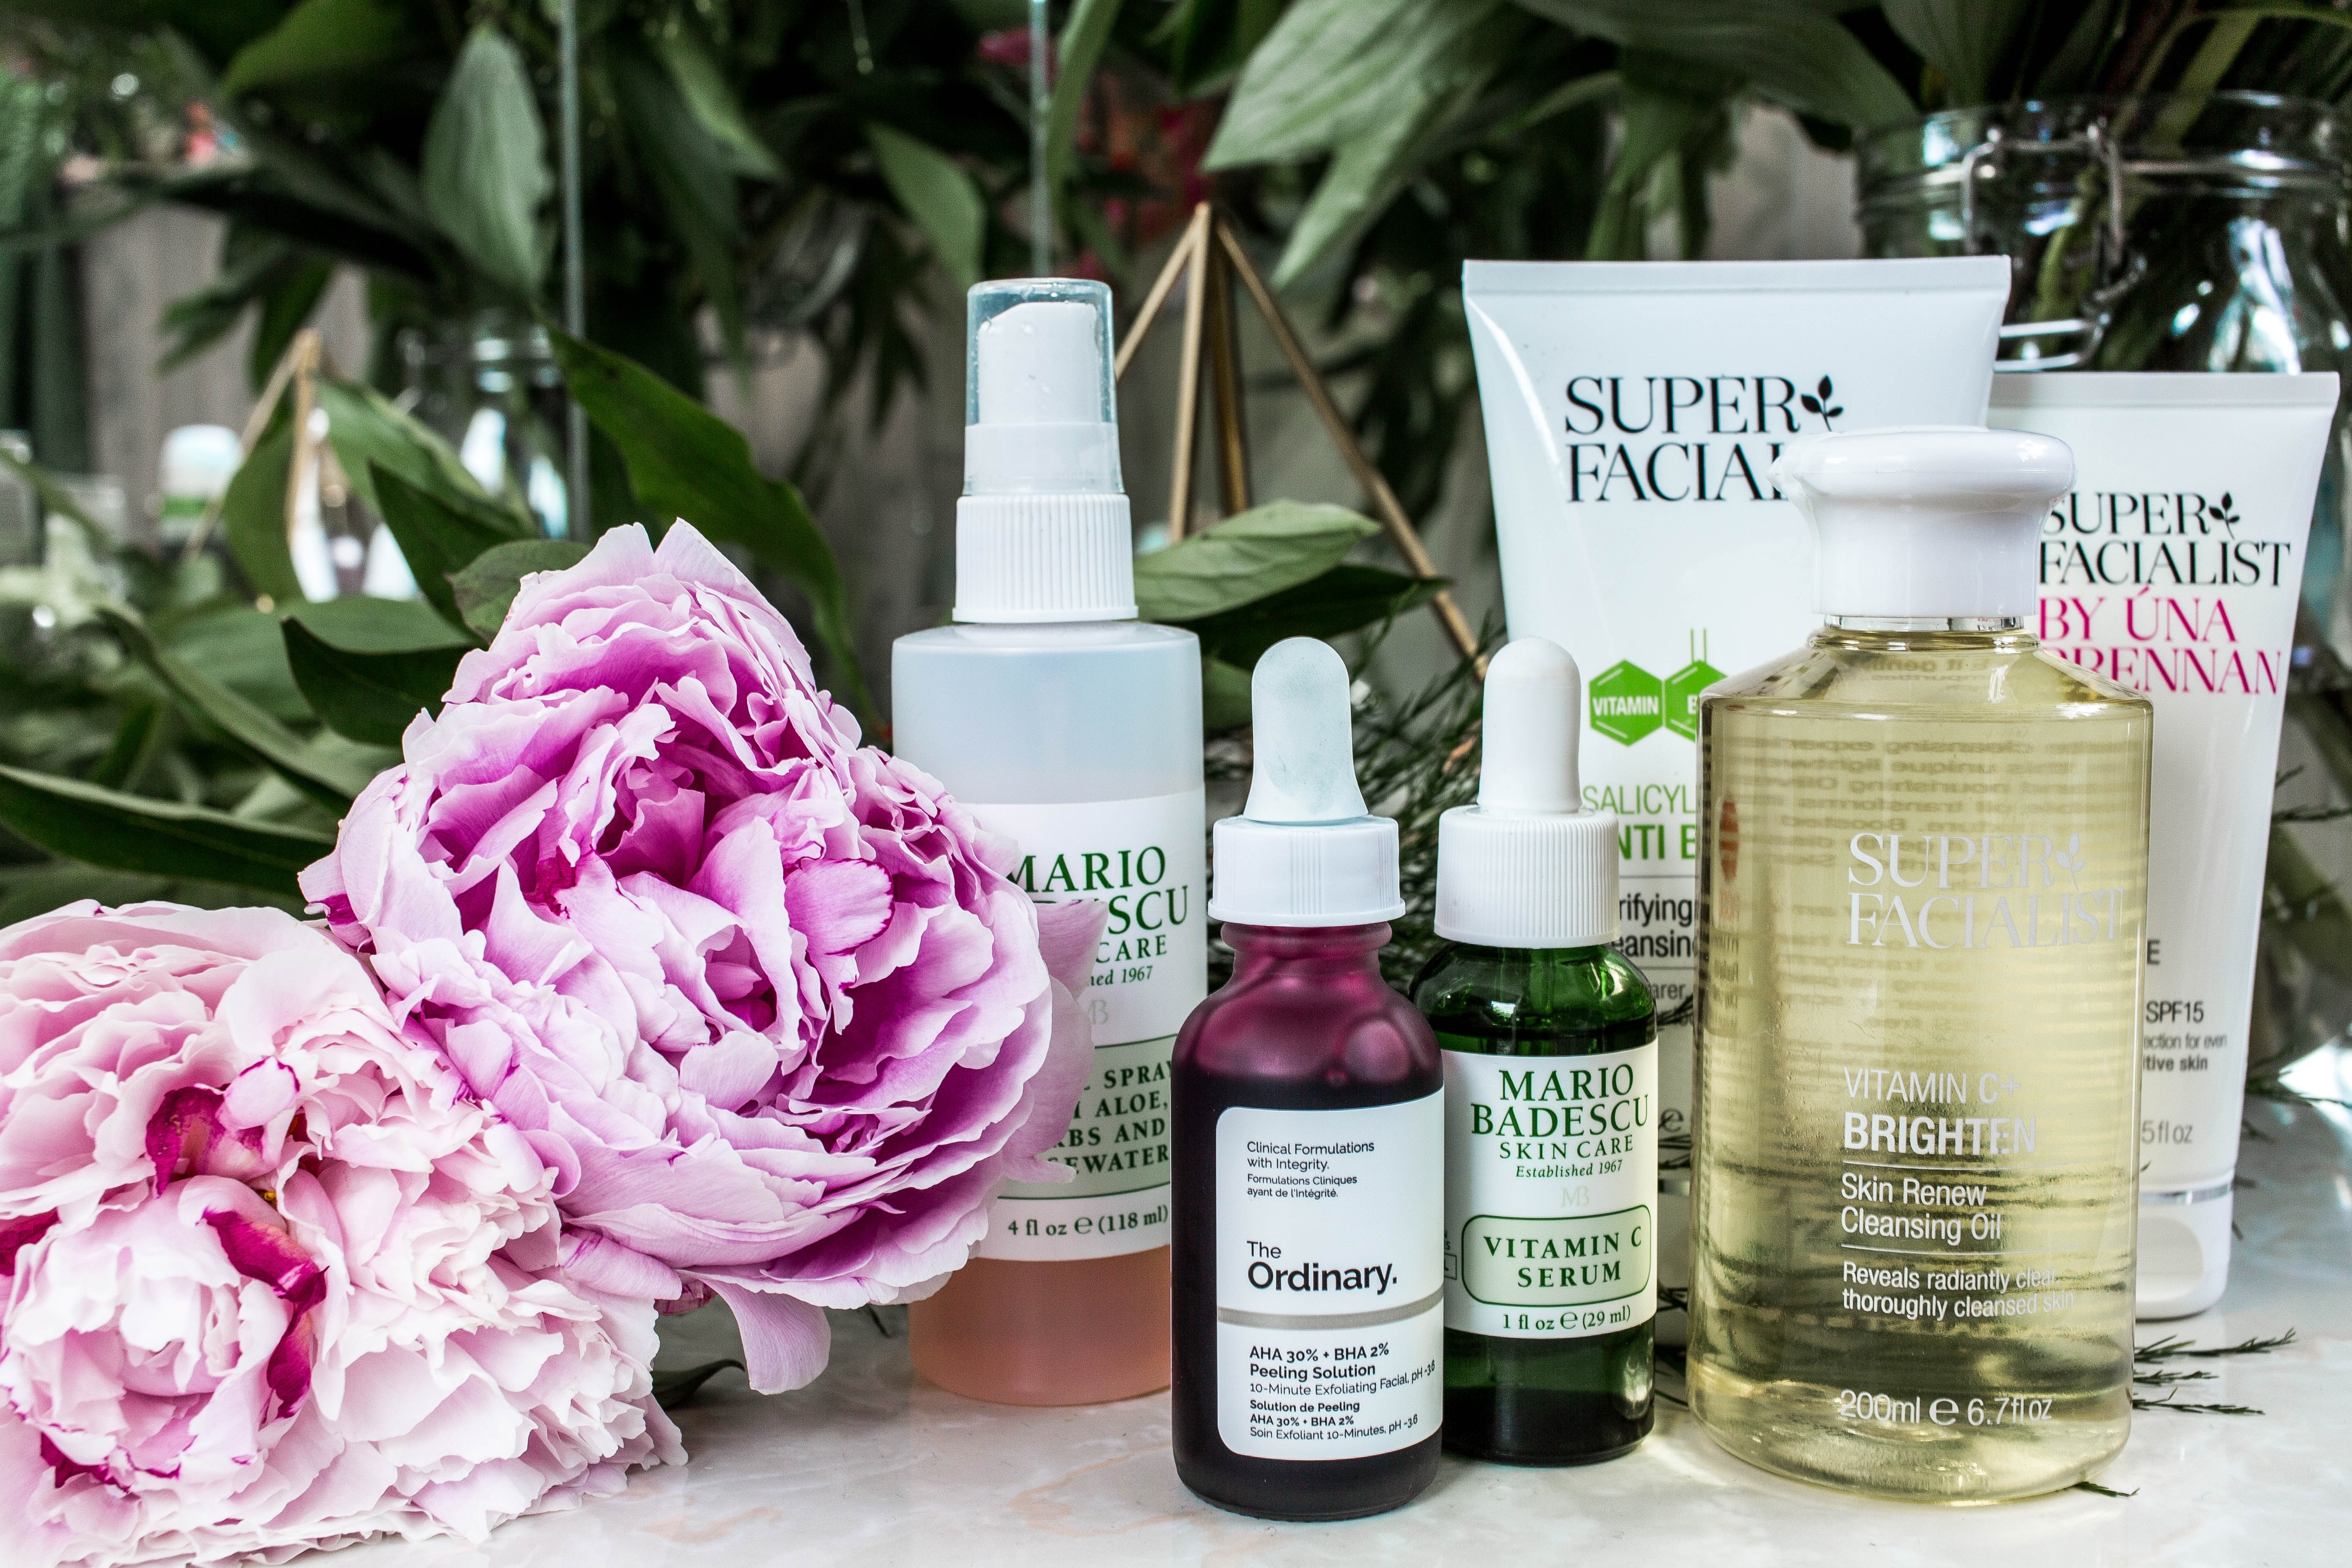
The first thing you need to do is cleanse your skin. If you’re wearing makeup or facial sunscreen, remove it using an oil cleanser. This melts away any product and can also help to remove dead skin cells, which will make the follow-up steps more effective.
Then, follow it up with a regular face wash. You don’t need anything fancy, just a gentle cleanser will do the trick. If you haven’t found a cleanser that works for you yet, I like the following:

Step 2: Exfoliate
Exfoliation is the trickiest part of giving yourself a DIY home facial, but also the most important. Exfoliation removes dead skin cells leaving your skin soft, bright and delightfully glowy. This means that the products you use post-exfoliation are extra effective.
I always recommend chemical exfoliation over physical methods, such as scrubs. Chemical peels aren’t just for the esthetician’s office; they’re actually pretty easy to do at home.
Those who are new to chemical exfoliation should start with something gentle, such as The Ordinary 5% Lactic Acid + HA. This is a very gentle chemical exfoliant and a great choice for your first facial at home. It’s a leave-on product so you don’t need to worry about removing it – just allow a few minutes for it to absorb before moving onto the next step.
If you’ve got oily or acne prone skin, I also really like the Paula’s Choice Skin Perfecting 8% AHA exfoliant. Glycolic acid is stronger than lactic acid which can be beneficial, but those with sensitive skin should proceed with caution and patch test first. Again, you don’t need to rinse this off.
More experienced skincare lovers might want to opt for The Ordinary AHA 30% + BHA 2% Peeling Solution, although it’s pretty hard to get hold of since it sells out so quickly. This is the closest thing you’ll get to a chemical peel at home. Apply the formula to dry skin and leave it on for a maximum of ten minutes before rinsing with lukewarm water. If you use retinol regularly, cut it down to five minutes.

Step 3: Steam
Steaming your face softens your skin and opens up your pores, so it’s perfect preparation for the next step: masking. You can use a facial steaming device for this step, but if you don’t have one, a bowl and a towel will do the trick.
Fill a large bowl with hot (but not boiling) water. Adding herbs or orange slices to the water can help recreate those wonderful spa smells, but they’re not strictly necessary. Then, position your face over the bowl with a towel over your head to trap the steam.

Step 4: Mask
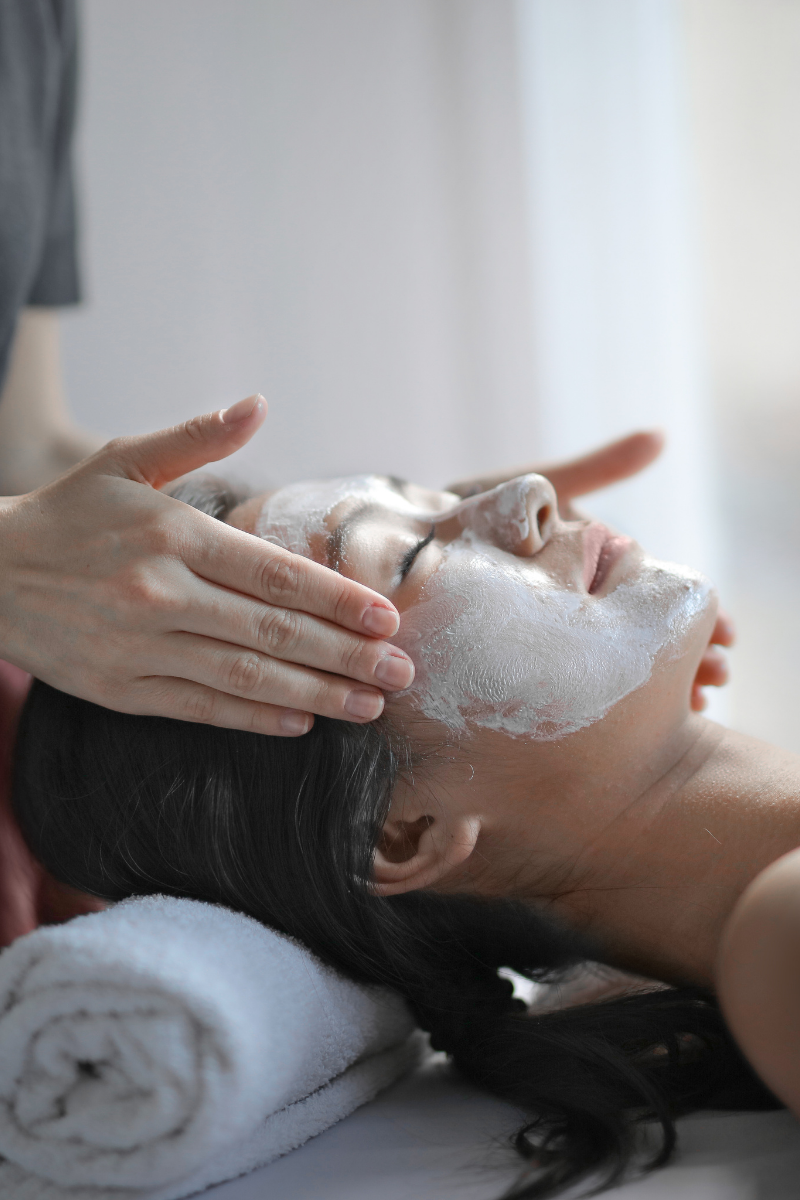
This is my favorite part. Now that your skin is clean, fresh and baby soft, it’s time to deliver some serious nutrients with a nourishing face mask. I know lots of people like clay masks to draw out impurities but I’m always wary of these, as they can strip and irritate the skin. Remember, you’ve already exfoliated and steamed your skin, so it’s in a pretty pure state right now.
Instead, I prefer to go with a gentle, hydrating mask. The Cosrx Ultimate Moisturising Honey Overnight Mask is one of my favorites. Although it’s technically an overnight mask, you don’t have to use it that way. Honey is an amazing skincare ingredient because it’s so gentle and nourishing, and Cosrx is one of the best Korean beauty brands out there at the moment.
The First Aid Beauty Ultra Repair Instant Oatmeal Mask is perfect for those with dry and/or sensitive skin. It’s very soothing and it can work wonders on irritated skin.
The Peter Thomas Roth Cucumber Mask contains a powerhouse of hydrating and antioxidant ingredients. It also feels light and cool on the skin. As well as a great post-exfoliation mask, this is a good one to use if you’ve recently been sunburned.

Step 5: Moisturize
Post-mask moisturizing helps to lock in those skin-friendly nutrients and maximise your glow. I recommend keeping it fairly simple; don’t use any products that contain retinol or exfoliating ingredients. For the best moisturizers around, check out this post.

Step 6: Massage
This is completely optional, but I like to gently massage my face once I’ve finished my facial at home. Apply gentle pressure and work in small, upward motions.
Sometimes (if I remember) I place a quartz roller in the fridge beforehand and use it to massage my face. From a scientific standpoint, there are no real long term skin care benefits to doing this, but it feels really nice. Doing a facial at home is all about pampering yourself, so why not?

Step 7: Sunscreen
I often feel like I’m repeating myself in my skincare articles because I’m always telling you to wear facial sunscreen. Obviously, you don’t need to put it on if you’re heading to bed after your facial treatment but it’s a must if you’re going outside during daylight hours. Ideally you should wear sunscreen every day, but it’s especially important in the days after exfoliation because the process leaves your skin extra sensitive to the sun. If you burn your skin, you’ll undo all that great work you just did.

For more skincare, check out these life-changing tips or this guide to cruelty free skincare brands?


[…] doesn’t mean it’s not important to be present in the moment. Instead, why not use this time to do a DIY facial or focus on improving your mental […]
[…] more on skincare, you might also like this guide to giving yourself an expert facial at home or these simple skin care […]
[…] glowy and fresh. I’ve included my favorite at-home facial products below but be sure to check out this comprehensive guide for more information on what to […]
[…] more at-home wellness, check out this guide to giving yourself an expert facial or take a look at my top tips for better beauty […]
[…] nowadays it’s easier than ever to give yourself an at-home facial. If you want a full guide, then check out this article but I’ve linked my favorite chemical peels and nourishing masks […]
[…] If you enjoyed this article, be sure to read this post about the best at-home beauty treatments and this guide to giving yourself an expert facial at home. […]
[…] How to Perform an Expert Facial At Home […]